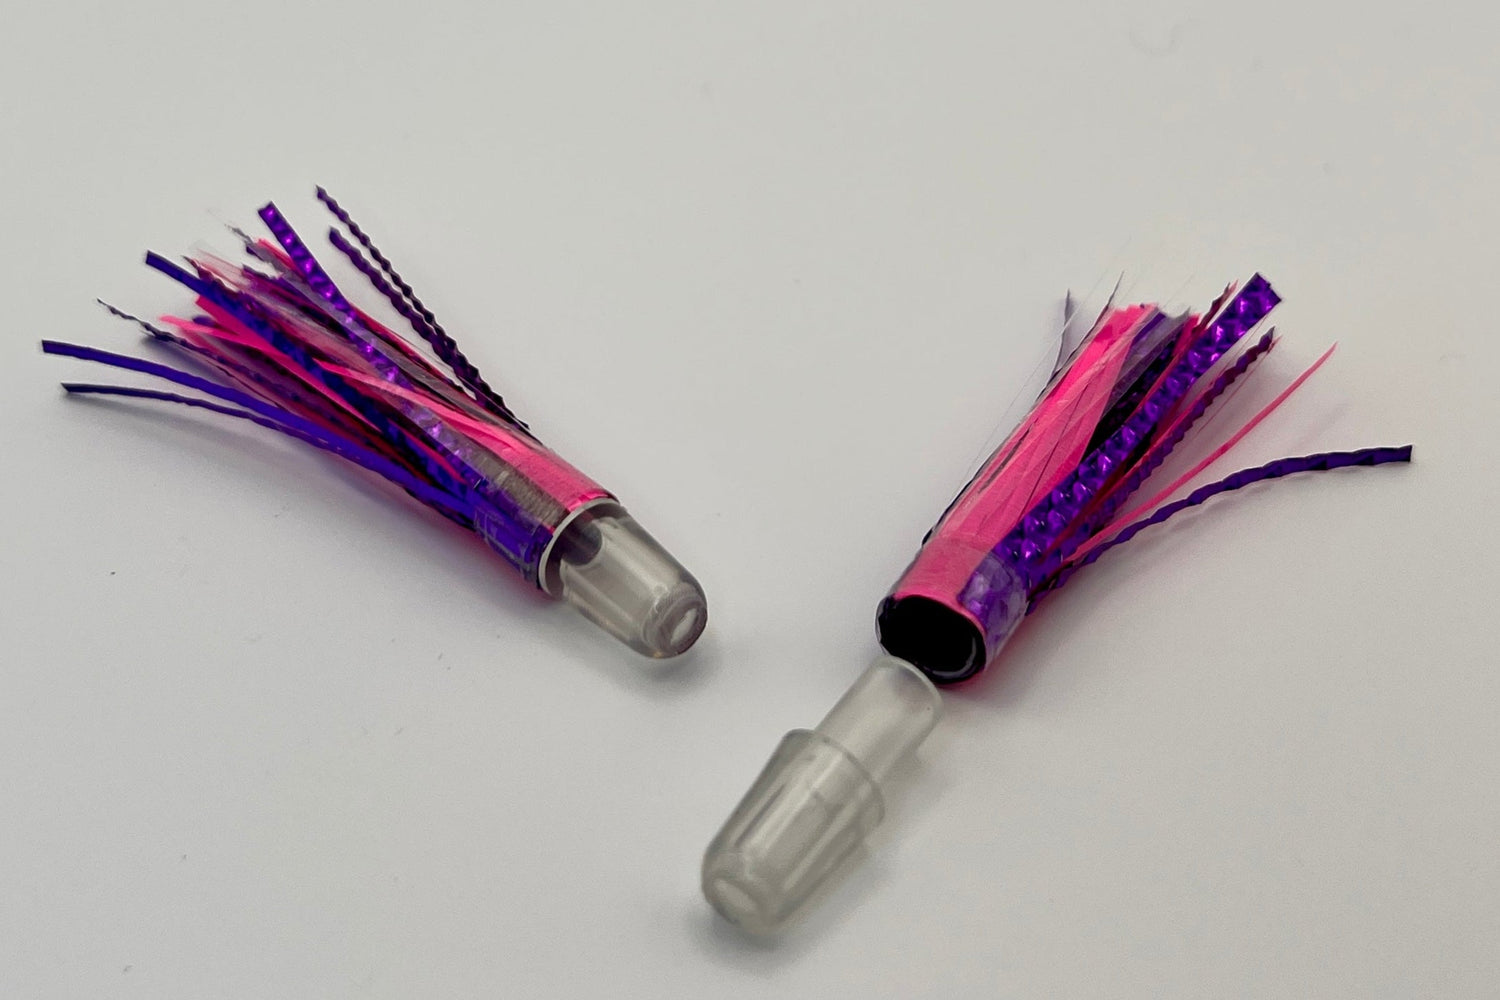
Building Your Own Flies and Meat Rigs
Share
Adapted from Capt. John King's 2005 photo tutorial "Building Your Own Flies" on MichiganSportsman.com. The original has 24 step-by-step photos: view the original.
In his first winter as a tackle maker, Capt. John released fly kits so anglers could build their own 3-fly meat rigs at a big savings. "This is not rocket surgery, or brain science."
Making the flies
- Divide the Mylar fringe. The fringe comes with double-faced adhesive. One kit makes 4 flies. Don't pre-cut the Mylar to the 3/4" circumference of the bullet head.
- Wrap the head. Peel the backing, wrap the Mylar around the bullet head, and trim exactly where the ends meet.
- Add the collar tape. Wrap it completely around the head and Mylar with a slight overlap (a little over an inch of tape).
- Make a length guide. Cut a piece of tubing to your fly length and use it to trim every fly the same. John liked 3" from the tip of the bullet head to the end of the fly; 2.5–2.75" works too.
- Trim the fly to length using the guide.
- Blouse out the skirt. Pull the fringe apart so it flares.
- Lock the collar. Wrap a 1/4" wide, 1 1/4" long piece of clear (not frosted) Scotch tape around the collar with a half-turn overlap. This stops the collar from lifting, a problem John saw even on store-bought flies.
Building the meat rig
- Fly spacing: 11" from the bead chain to the first fly, and 11" between flies. (By 2006, John's 2-fly rigs used 12" spacing.)
- Meat head spacing: 14–16" from the last fly to the meat head, so the head can loop freely.
- Use a swivel, not a crimp, below the last fly. Then you can re-leader the section to the meat head when it gets worn.
- Crimps: firm, but not crushed. If one slips, squeeze it again.
- Knots: a simple clinch knot is easiest. John used a moistened Trilene knot, but warned it's tough to tie in 40–50# mono.
- Leader: hard mono holds up far better than regular mono.
- Before setting lines, make sure every skirt is bloused out and not pinched against the leader, which would hamper the meat head.
"There is no wrong way to do this... The fish do not carry a measuring tape."
Pick the head and bait it
- Magnum meat heads are designed for cut or sliced bait, meat strips and Rip Teezers™. The smaller Orange Label (4" to 5") whole herring also works.
- Super Magnum meat heads are for all forms of bait: cut or whole bait, meat strips and Rip Teezers™. Green Label (6" to 7") or Red Label (5" to 6") whole herring is the perfect fit, along with prepared strips and homemade hand-cuts. The larger Blue Label (7" to 8") whole herring also works.
- Rip Teezers™: push the strip all the way into either head; no tuning needed. The hook hangs freely near the end of the strip; don't peg it into the bait.
Capt. John's switch: once his Rip Teezers™ artificial herring strips went on sale in 2021, John stopped buying meat strips. Rip Teezers™ (Regular, Glow and XG Extended Glow) fit both Magnum and Super Magnum meat heads with zero tuning, need no brine or thawing, and last for seasons. See Rip Teezers Use and Care.
Shop the parts: DIY meat rig kits · Rip Teezers · Bullet heads · Snelled leaders · Meat heads